If no menu
or buttons show
ensure you have
scripting enabled
Please give time
for menu to load


|
Some people,
myself included, are not quite as happy with
a heel mag release as a ''conventional'' side
release such as on 1911 and many semi's. That
said - it is not that great of a problem really
but does I think need some practice and technique
to get down to a smooth operation.
Here, for what it is worth are some pics which
try to show what works quite well for me.
I had to shoot these by myself and so flash
illumination is not that good or even the
results.!
This description is as you'll see for right
handed operation. |
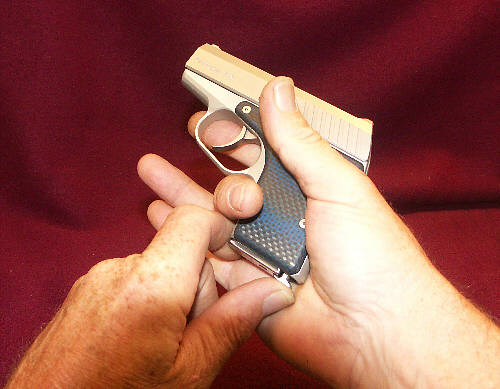
Withdrawal
stage 1 - Have firm right hand grip but
lower fingers out of the way. Have left
forefinger ahead of the slight mag floorplate
protrusion and use thumb to press rearward
on heel release.
|
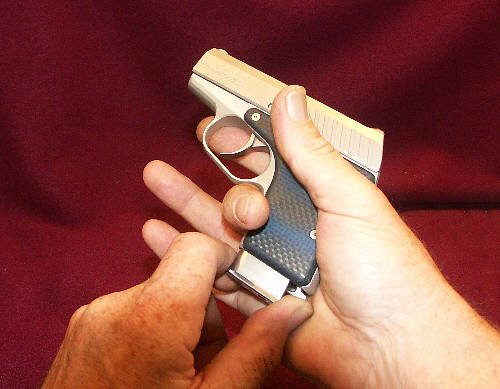
Withdrawal
stage 2 - Once thumb has pushed release
back enough, mag disengages and forefinger
at front makes a grip against the thumb
at rear, so mag is now gripped at the
base.
|
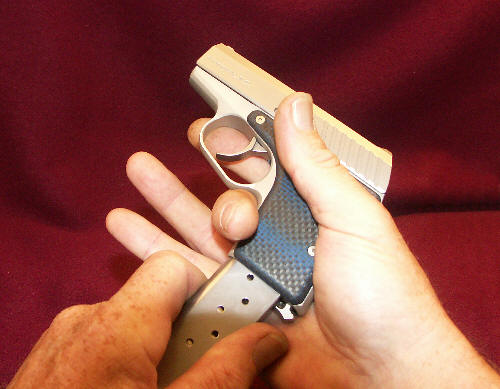
Withdrawal
stage 3 - Continue withdrawing mag'
downwards until out of the mag' well.

|
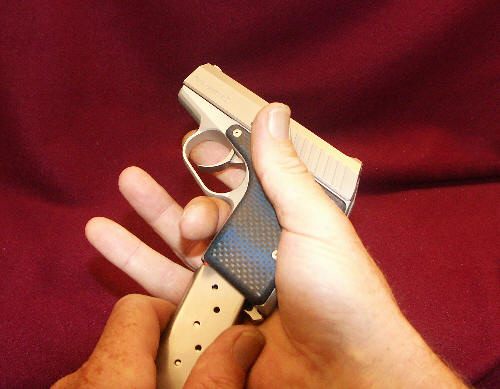
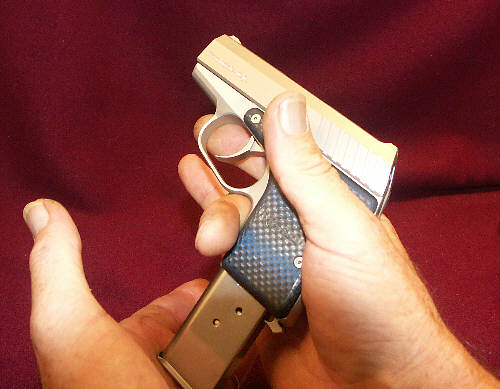
Insertion
stage 1 - Have mag' slightly angled
as per the picture and use rear
face of mag' to apply pressure to
the heel release, enough to force
if back so mag' can begin to enter.
Not shown here but some people find
that keeping forefinger lined up
along front of mag' facilitates
finding the front of frame with
finger tip at beginning of process.
|
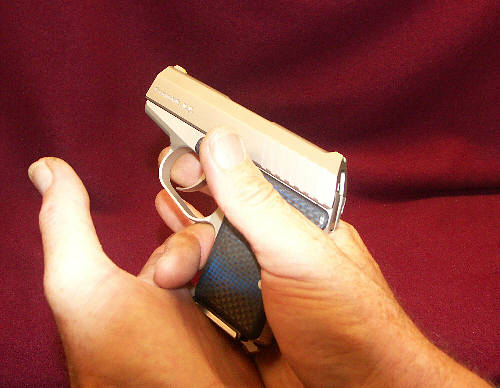
Insertion
stage 2- Once mag' has begun
to enter, change angle slightly
per the picture and continue
to push upwards and then allow
natural alignment to take
over. This ensures that if
top round was not quite seated
back in mag' then it will
be corrected.
|
Insertion
stage 3- now alignment has
been achieved, transfer
driving pressure to the
palm of left hand or heel
of hand. This is where speed
can be greatly accelerated.
|
Insertion
stage 4 - This is the completion
of the final thrust home
- a firm or even sharp force
to fully ensure seating
and making sure mag' release
engages totally, and not
partially.
|
|
This
is like most of my suggestions - just
that! A method that works well for me
but, it might give others something
to work on when starting to find out
what works best for them.
|
|
Back to Top
|